Start from a deal or contact
Choose Send with readyink on the card. The contacts on the record are filled in as recipients, so there is nothing to retype.

The ReadyInk integration for HubSpot adds a card to your deals and contacts. Send a document for signature to the people on the record, then see every signature on the HubSpot timeline, with the signed copy attached when everyone has signed.
By the ReadyInk team · Updated
Choose Send with readyink on the card. The contacts on the record are filled in as recipients, so there is nothing to retype.
Sent, viewed, signed, declined and completed each appear as a note on the record, with a link back to the document.
When everyone has signed, the signed document is attached to the record. You can also move the deal to a stage you choose.
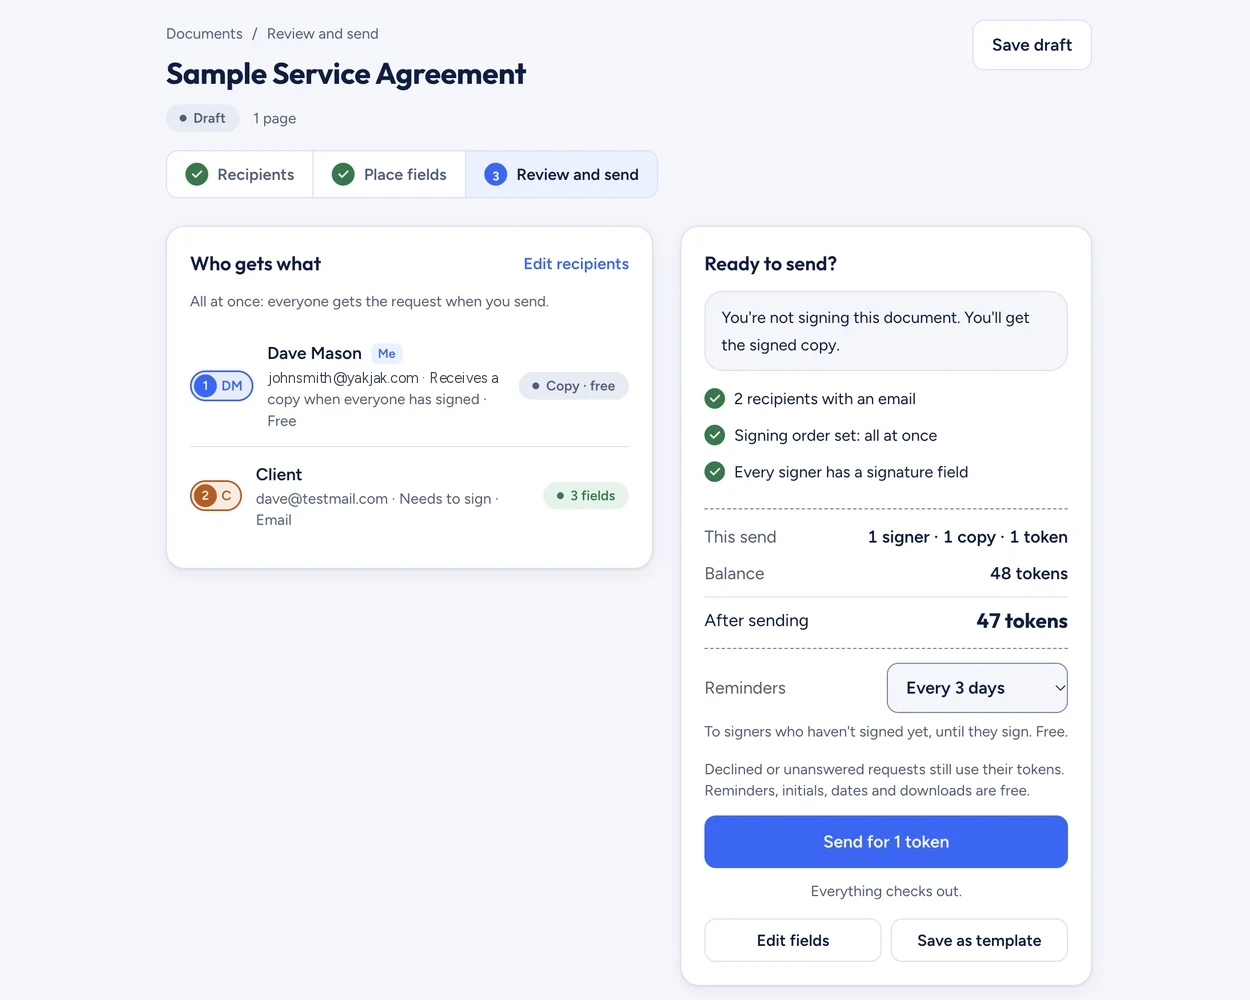
To send documents for signature from HubSpot, connect ReadyInk on its Integrations page, add the readyink card to your deal and contact records, then choose Send with readyink. The record's contacts are filled in as recipients, and every signature appears as a note on the HubSpot timeline, with the signed copy attached.
ReadyInk connects one HubSpot account to one readyink.ai business. Once a HubSpot admin adds the readyink card to your record pages, anyone on your team can start a signature request from a deal or contact, and the people on that record are filled in as recipients.
You still review and send in readyink.ai, where AI places every field on the document. After that, HubSpot stays up to date on its own: each step shows up as a note on the record's timeline, and the signed copy is attached when everyone has signed. Setup takes four steps.
The card appears on a record once a HubSpot admin adds it to the page layout. You do this once for deals, and once more for contacts if you want it there too.
HubSpot's own guide to customizing record pages has the details if your screen looks different.
If a deal has no contacts with an email address, you can still start from the card and add the recipients in readyink.ai.
ReadyInk adds a note to the record's timeline in HubSpot each time something happens:
Each note starts with readyink: and has an Open in readyink.ai link, which needs a readyink.ai sign-in. Signed copies are saved as private files in a folder called readyink signed documents in your HubSpot files.
ReadyInk can move a deal to a stage you choose, for example Closed won, as soon as everyone has signed. It is off until you turn it on.
This applies to documents sent from a deal. Documents sent from a contact don't move anything. The same panel lists recent updates sent to HubSpot, so you can see that each one arrived.
ReadyInk asks HubSpot only for the permissions below. It acts only on the deals and contacts you send from, and it doesn't copy the rest of your CRM.
| Permission in HubSpot | What ReadyInk does with it |
|---|---|
| Read contacts | Reads the name and email address of the contact you send from, or of the contacts on the deal, to fill in the recipients. |
| Read deals | Reads the deal's name and which contacts are on it. |
| Write contacts | Adds signature notes to the contact's timeline. |
| Write deals | Adds signature notes to the deal's timeline. Moves the deal to the stage you chose, only if you turned that on. |
| Write files | Saves the signed copy to your HubSpot files so it can be attached to the note. |
From ReadyInk to HubSpot go the document's title, the names of the people who viewed or signed it, a link to the document in readyink.ai, and the signed copy. From HubSpot to ReadyInk go the names and email addresses of the people you are sending to. ReadyInk also keeps a record of which HubSpot deal or contact each document was sent from, so updates reach the right timeline. See the privacy policy for how ReadyInk handles information.
An owner or admin can disconnect at any time: open Integrations in readyink.ai, choose HubSpot, then Disconnect. This removes readyink from your HubSpot account and stops all updates. You can also uninstall readyink from the connected apps list in HubSpot. Notes and signed copies already in HubSpot stay there, and your documents stay in readyink.ai.
The HubSpot integration is free on every plan. Documents you send from HubSpot use tokens the same way as the app: one token covers one signer on one document, however many fields they sign. Copy recipients and reminders are free, and token packs start at $10 for 20 tokens. Signers don't need HubSpot or a ReadyInk account. They sign from a link in their browser on any device.
Use the contact page or email info@readyink.ai, and a real person will reply. HubSpot sits alongside the rest of the readyink.ai integrations: Slack, Google Docs, Dropbox, Zapier, Claude and ChatGPT through the MCP server, and the eSignature API.
Yes. Open a deal or contact in HubSpot and choose Send with readyink on the readyink card. readyink.ai opens with that record's contacts filled in as recipients. You choose the document, check it and send it there.
An owner or admin of your readyink.ai business connects one HubSpot account on the Integrations page. HubSpot may ask a HubSpot super admin to approve the connection.
ReadyInk reads the names and email addresses of the contacts on the deal or contact you send from. It writes notes to that record's timeline, saves the signed copy to your HubSpot files, and moves the deal to a stage only if you switch that on. It doesn't copy the rest of your CRM.
No. Signers get a secure link and sign in their browser on any device. They don't need HubSpot or a ReadyInk account.
The integration is free. Documents sent from HubSpot use 1 token per signer, the same as the app, and reminders are free.
An owner or admin chooses Disconnect on Integrations, HubSpot in readyink.ai. That removes readyink from your HubSpot account. Notes and signed copies already in HubSpot stay there.
Create your ReadyInk account in seconds. Start with a $10 token pack or set up your team.